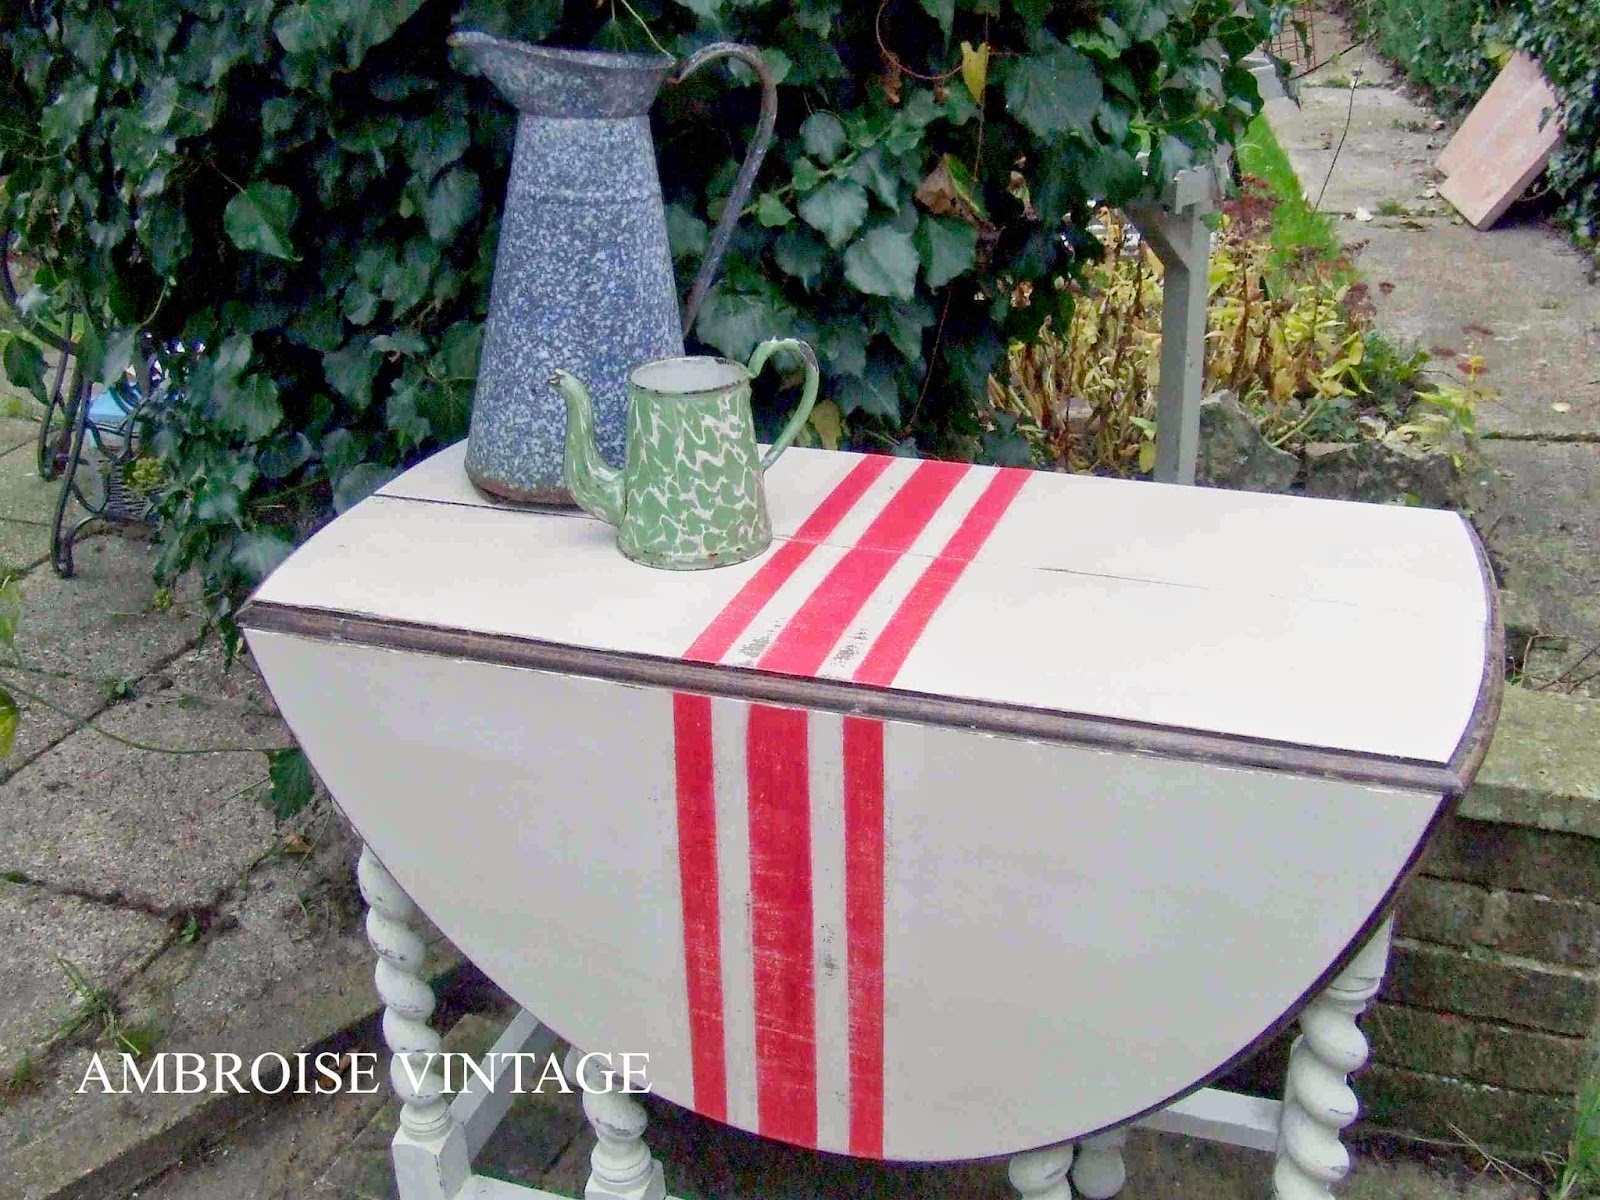
French Grain Sack Table Makeover.
j
j
I wanted to be part of the French Grain sack craze...so I
found an old drop leaf Table and I started to look on the web for some
inspiration.
This is how I did it;
№1. I choose to paint the legs in chalk paint old white and
the top of the table with a more hardwearing acrylic paint (Farrow and Ball). I
apply 3 coats of paint on the top. Let it dry for a day.
№2.Once the paint is dried prepare your tools to make
your stripes. You will need a ruler to measure, painter tape with a width of
approximately 2.5cm, small red pot of paint or colour of your choice, pencil
and 120 sandpaper.

№3. Found the centre of the table and mark it with your
pencil. Measure 2cm on each side which will make a stripe of 4cm for the
largest one in the middle. Tape it as seen on the picture outside of your 4cm
stripe. Now to measure your small stripes just add another 2.5cm from your
painter tape, mark it and again cover it with your painter tape outside your
small stripes. As it is an oval table it is not always easy to stick the
painter tape straight to have straight lines. So I mark it to make sure I had
my 4cm and 2.5cm at the end of the table.

№4. Paint carefully WITHIN the painter tape with the red
paint. Apply 2 coats if you wish and remove the painter tape straight away to
reveal your beautiful stripes. Let it dry for a day.

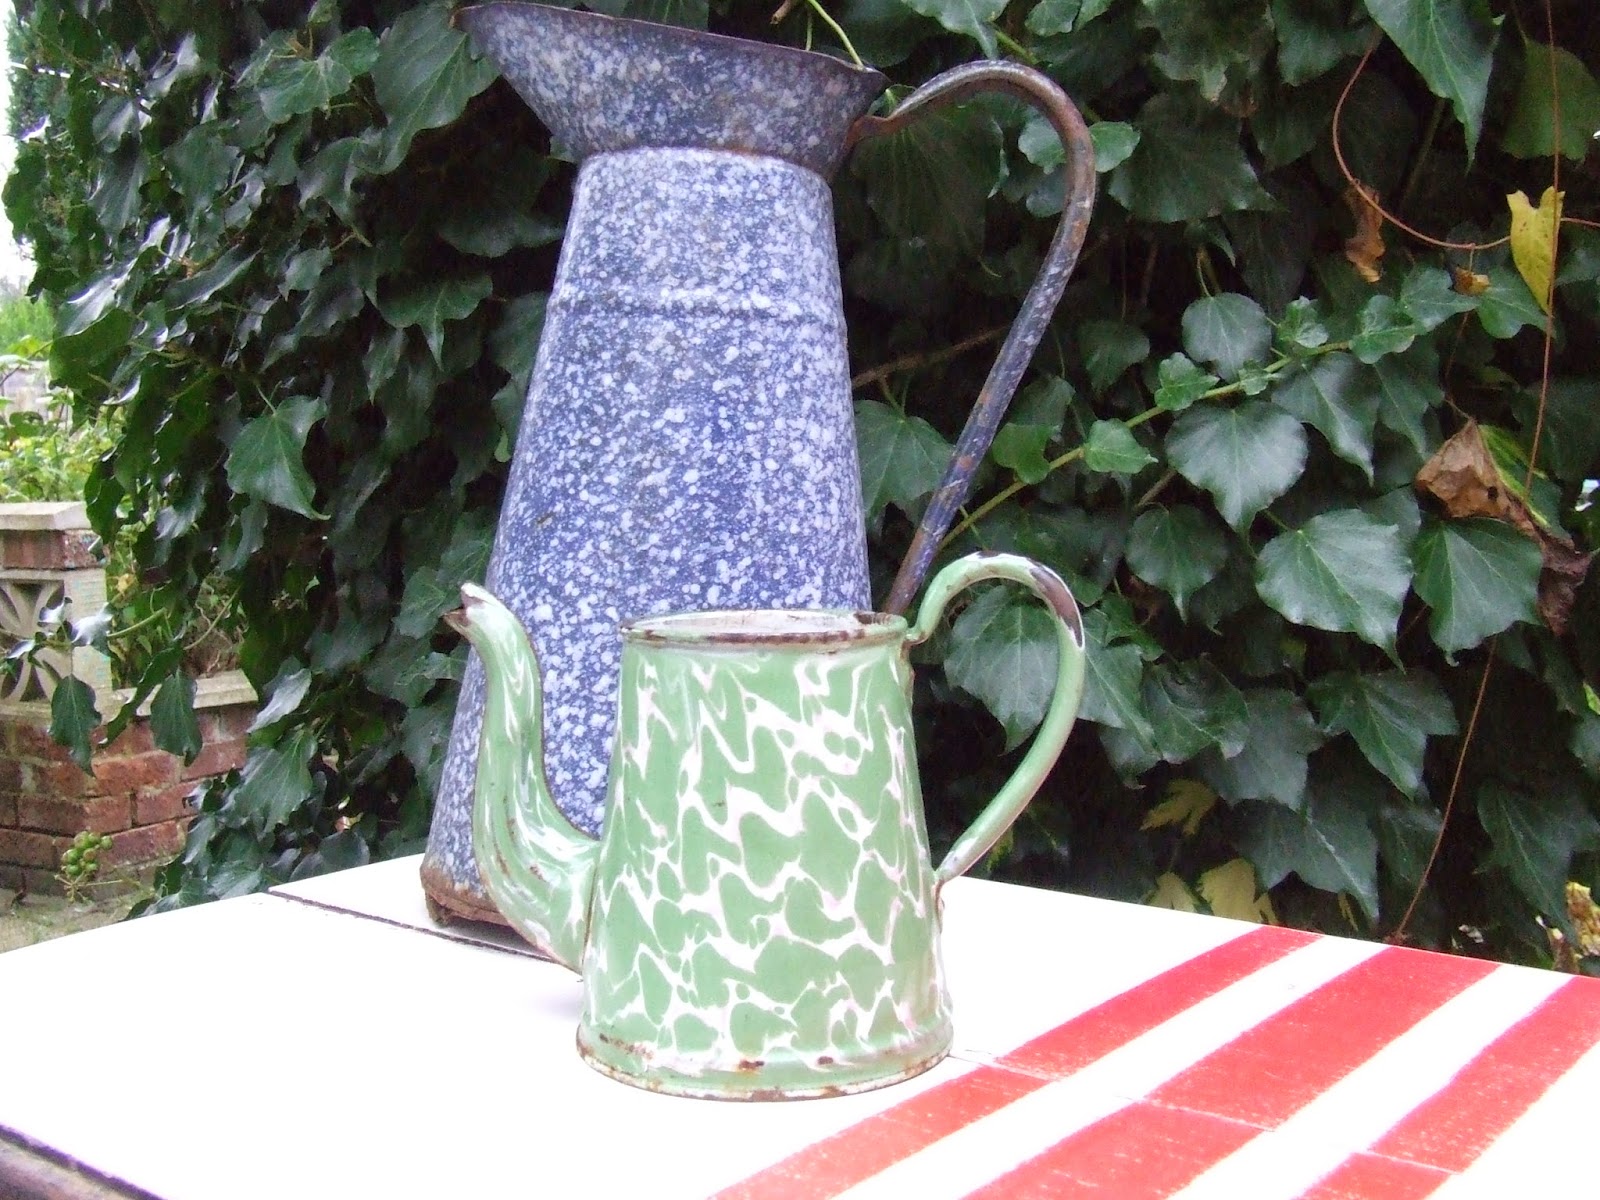
№5. I decided to sand everything (the top with stripes, legs)
to have this country aged look but you don’t need to if you prefer a cleaner
look. If you sand it remove the red dust left by the red stripes with a dry
cloth. Once you’re happy with your look you can apply a clear matt
varnish/lacquer or clear wax.

I really enjoyed this project. Try it!
jjj

Comments
Post a Comment